

What is TestNG?
TestNG stands for Test Next Generation. It is a powerful testing framework inspired by JUnit and NUnit. It is widely used with Selenium WebDriver and Java to organize, manage, and execute test scripts efficiently.
In the previous section, we wrote a simple automation test script. That script was designed to run a single test case. However, in real-world automation projects, the test suite contains hundreds of scripts covering numerous test scenarios. While a single test script can be executed by directly running the Java class, managing and executing an entire suite is different. This is where TestNG comes in.
TestNG brings structure and scalability to test automation. It allows test scripts to be grouped, managed, and executed as test suites. It also supports:
Parallel execution
Assertions for validations
HTML report generation
Parameterization
Use of Listeners for advanced test behavior
For a Complete TestNG Tutorial, follow this link: https://www.qafeast.com/java-testng
For this tutorial, TestNG will be added to the project, and a basic automation script will be written using it. Detailed usage of TestNG will be covered later in the Framework Setup and Page Object Model sections.
Adding TestNG to the Maven Project
To add TestNG as a dependency in a Maven project:
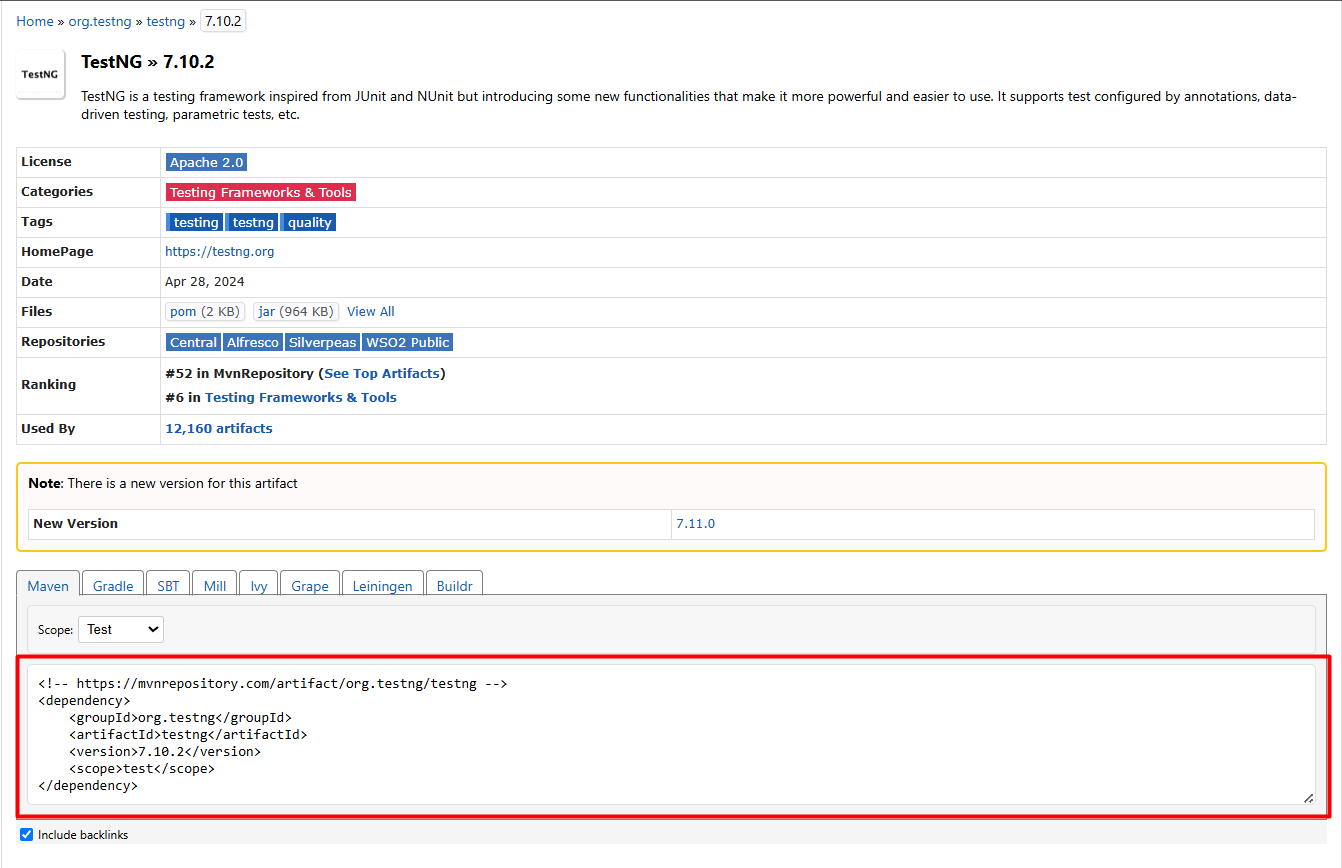
1. Search for TestNG Maven Dependency in your browser or directly go to the Maven Repository.
2. Navigate to: Home » org.testng » testing.
3. Choose the latest stable version and open its details page.
4. Copy the provided Maven dependency snippet.
Now, open your IDE:
Open the Java project
Locate the pom.xml file
Paste the copied snippet inside the
Note: You may need to restart your IDE or reload the Maven project to trigger dependency downloads.
Sample pom.xml with TestNG
Adding TestNG to a Gradle Project
To add TestNG to a Gradle project:
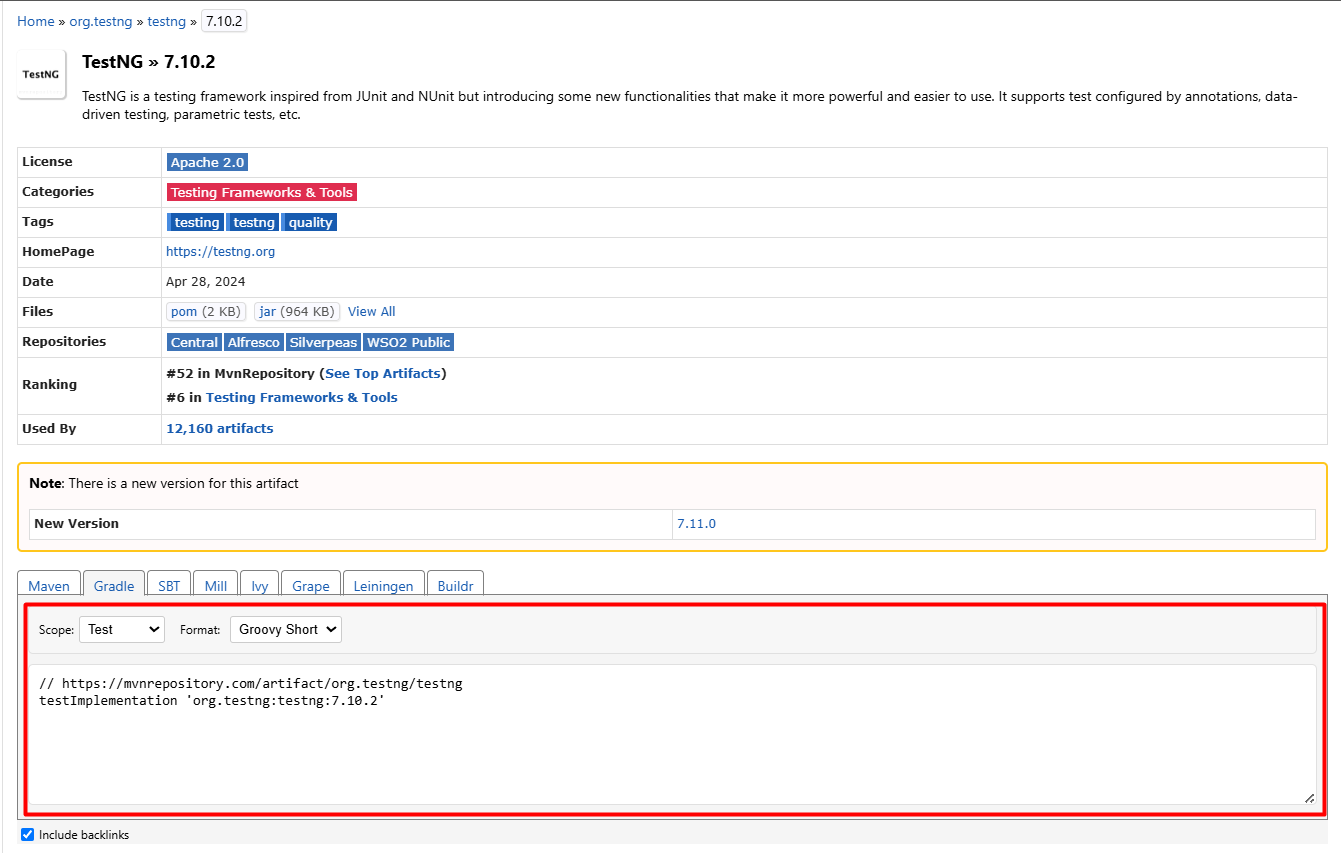
1. Go to the Maven Repository and search for TestNG.
2. Navigate to Home » org.testng » testing.
3. Select the latest stable version.
4. On the version page, switch to the Gradle tab and copy the snippet.
Now in your IDE:
Open the Java project
Open the build.gradle file.
Paste the copied line into the dependencies block.